CONVENTIONAL NON DESTRUCTIVE TESTING (NDT)
We help you ensure the reliability and safety of your products, equipment or plant assets with our world-class services in non-destructive testing (NDT), materials testing and welding quality.CONVENTIONAL NDT SERVICES
Danholsen provides Conventional non-destructive testing (C-NDT), materials testing and welding services for a diverse range of industries. We help you ensure the reliability and safety of your products, equipment or plant assets with our world-class services in non-destructive testing (NDT), materials testing and welding quality. We understand the processes involved throughout the entire product cycle – from design and manufacture to operation and maintenance - and the frequent need for rapid turnaround times. Our services can support production processes, quality control, and regulatory compliance as well as new construction, pipelines, plant maintenance and scheduled shutdown inspection.

In addition to our non-destructive testing and materials testing, we provide a complete welding support service to help you with your welding requirements, comply with international and national codes and standards, and to enter new markets with our welder training and welder qualification.
We work with a diverse range of industry sectors including oil and gas, aerospace, power generation, petrochemical, automotive, rail, motorsport, general engineering, fabrication and construction.
We work with a diverse range of industry sectors including oil and gas, aerospace, power generation, petrochemical, automotive, rail, motorsport, general engineering, fabrication and construction.

Wherever your company is based and whichever sector, our global reach means we can support you with our comprehensive range of NDT services that include:
Materials testing, Specialist NDT services, Welding Services, Non-destructive consulting
Our skilled and experienced personnel
Danholsen highly skilled and certified personnel hold qualifications with the following industry bodies:
PCN - Personnel Certification in Non-destructive Testing
ASNT - American Society of Non-destructive Testing
API – American Petroleum Institute
AWS - American Welding Society
ACCP – ASNT Central Certification Program
The benefits of choosing Danholsen for non-destructive testing, materials testing and welding and welding inspection: By partnering with Danholsen, we will deliver real value for your company by protecting your brand and reputation and by ensuring the safe and the client operation of your products, equipment and plant assets. We help you save time and money by avoiding the costs and loss of revenue due to product, equipment and asset defects or failure, all done with the minimum of disruption to your production processes and schedules.
A typical application is a task of material integrity approval, e.g. manufactured Semi-products (sheet, forging or casting) or welds
UT- ULTRASONIC TESTING
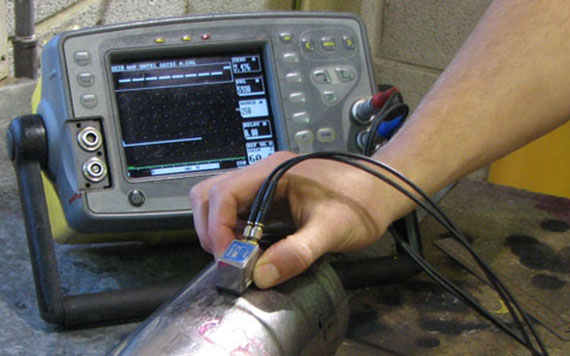
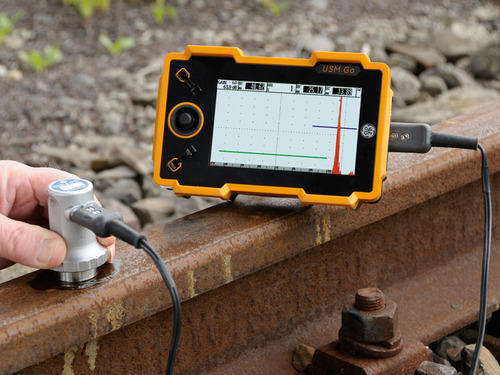
Ultrasonic Testing method is classified as a volume method. It means that even defect inside material can be detected. A little bit tricky application, as the probe can be applied on the object accessible surface only.A typical application is a task of material integrity approval, e.g. manufactured Semi-products (sheet, forging or casting) or welds

MT – MAGNETIC PARTICLE TESTING
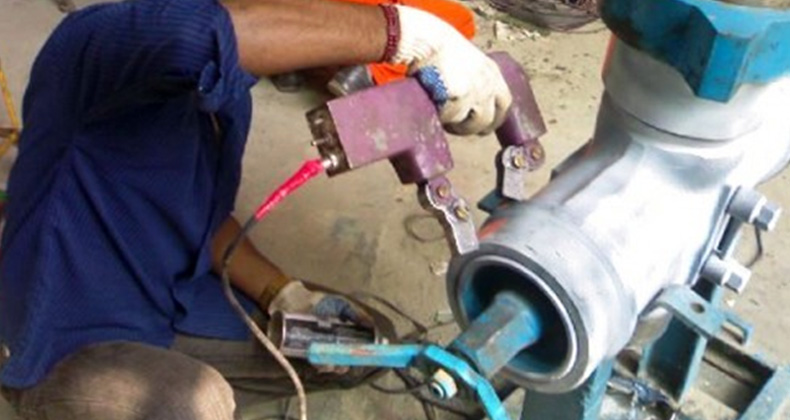
We need electricity here; however electrical appliances are pretty simple. A surface defect or a near-to-surface one disrupt a magnetic field inside the object and an indication of medium particle, often fluorescent, can be visible outside. It is more robust compare to liquid penetrants. No such precise cleaning is demanded. Surface may be scratched; even a defect can be covered with thin material layer. Indications are similar to PT, common standards are published.Inspection of steel butt welds is very popular. The best method for bolt thread inspection, a false indication can be eliminated. Complex task of e.g. steel liners built-in aluminum block of an automotive engine can be performed.
PT – LIQUID PENETRANT TESTING
It’s simple improving of VT reliability in specific applications. Although this is classified as surface method, we can distinguish between scratch and crack. Sensitivity increases, it means better resolution with more susceptible condition. Only open-to-surface defects can be detected, good cleaning is necessary. We reports just an indication; the real source stays uncertain (it is common feature of every method except VT).PT can be applied to smooth, clean surfaces. A productivity of PT lines is impressive: a batch of small object can be processed at once. Using fluorescent technique, the indication “shines” and is clearly visible. It’s the only method for e.g. chromium layer integrity investigation. A manual technique of cans (sprays) is very popular in the course of in-service inspections - detection of flaws and fatigue cracks.
VT – Visual Testing
It is relatively easy and low in demands. The equipment is used just for inspection of close or direct inaccessible areas, such as tanks, tubes and vessels. In some qualification systems, this method is not recognized as regular NDT, because it is “natural” activity. However, the great benefit is a transparency and understandable reported information. We can measure defect dimensions. Data storage is simple via photo.VT can be applied everywhere, including object with elevated temperature (it is contactless) or risk of explosion (direct observation without any appliance). Potential users are weld workshops, assembly workplaces, inspectors with high productivity demands. Knowledge is useful also for engineers, which “need to look” on the objects.
ET – EDDY CURRENT TESTING
It is suitable for inspection of metallic object. The equipment is similar to UT one in the mean of its complexity. The application is easier and handier, as there is not any couplant between our probe and the object surface. However, the inspected volume is limited to the surface and a near-to-surface layer.A typical application is an investigation of manufactured tube integrity (a whole object is going through a coil) including welded tubes and their leak-tightness approval. A specific application with inner coil is an inspection of heat exchanger tubing. The basic application is scanning of critical areas of operated structure for expected fatigue damage (0.2 mm crack can be reliably detected). We can also measure sheet thickness (up to several mm), cladding thickness (e.g. pure Aluminum on aluminum alloy), protective coating (painting) thickness etc. A material sorting is also very popular; even a correct heat treatment can be
INDUSTRIAL SECTORS
Each industrial sector can be considered. These methods are applicable at least at minimal range (welds are everywhere and bolts too). There are just specific features of tested objects, e.g. steel plates on pressure vessels vs. thin aluminum in aerospace, which lead to different instrument setting or a different probe. Of course, we need to respect a method or a technique features:• VT – surface only, good lighting, strong human factor
• PT – defects open to surface, accessible areas only
• UT – smooth surface, suitable defect orientation, the first interface only
• ET – electrical conductivity is the must, near-to surface only (several mm of non-ferrous materials)
• MT – surface of ferromagnetic materials only
The method is chosen for satisfaction of particular customer application - demanded sensitivity, workplace condition, money available for investment (sophisticated equipment like UT or ET) or for operation (permanent supply of consumer goods like PT or MT). General rule is about the application cost proportionate to results (sensitivity, reliability time-saving).
